前不久,我写了篇关于Activity之间的过渡跳转的文章(有兴趣的请戳 Android动画 —— Activity过渡,算是初窥了Android过渡(Transition)的基本概念,以及它在Activity跳转中的应用。今天,我们就来进一步学习一下它,然后实现自定义的过渡,填补系统内置效果的不足。
一、过渡框架浅谈
Android提供过渡框架,目的是让应用的界面“动起来”,以提升视觉吸引力和视觉上的线索,让用户知道应用到底是怎么工作的。
好像还是不甚明了?
从开发的角度来讲,根本上,过渡框架就是实现了View树(View Hierarchy)之间的动画切换 —— 用动画将两个View树下的所有View连接起来。这里的View树,可能一个View,也可能是一个复杂的ViewGroup。
过渡框架支持的功能包括:
- 组级动画
对View树中的所有View应用一个或多个动画效果
- 基于过渡的动画
根据起始View和结束View的属性值变化来应用动画
- 预置动画
引入预置动画以实现通用效果,例如渐隐或移动
- 资源文件
从资源文件加载View树和内置动画
- 生命周期
定义了生命周期回调,在动画和View树变化过程中提供更好的控制
二、场景过渡
场景
在过渡框架中,有一个很重要的概念,称为场景(Scene)。一个场景,保存了一个View树的状态及其所有View的属性值,也保存了View树的父引用,场景的改变与动画都将发生在这个父引用里面。
Android字义了类Scene来表示一个场景。
场景的过渡过程将涉及起始和终止两个状态。在多数情况下,我们不用显示设置起始场景。为什么不用设置?第一,如果已经有应用过过渡,那么接下来的过渡将以已应用过的过渡的终止场景作为起始场景。第二,如果从未应用过渡,那么过渡框架会从当前的屏幕状态收集所有View的信息,然后把它们作为过渡的起始场景。
过渡
场景过渡的使用主要包括三个步骤:
- 创建起始场景、终止场景
- 设置过渡动画
- TransitionManager启动动画
说了这么多,大概还是云里雾里?还是来个例子尝尝鲜吧。
首先,定义场景所在的View树父布局:
1 | |
前面已经说到,场景的转换将发生在它的父引用里面,也就是这里的FrameLayout了。而这里include的布局(a_scene),其实就是我们的起始场景布局。
a_scene.xml
1 | |
然后,定义终止场景布局another_scene。
another_scene.xml
1 | |
两个场景的布局控件相同,只是摆放的位置不同。
场景布局定义完毕,那就要开始创建场景了。调用Scene类的静态方法getSceneForLayout (ViewGroup sceneRoot, int layoutId, Context context),第一个参数是场景的父引用,第二个参数是场景的布局id。
1 | |
最后,启动场景过渡动画。这里使用ChangeBounds过渡。调用TransitionManager的静态方法go (Scene scene, Transition transition),第一个参数是要切换的目的场景,第二个参数是过渡动画。
1 | |
效果如下:
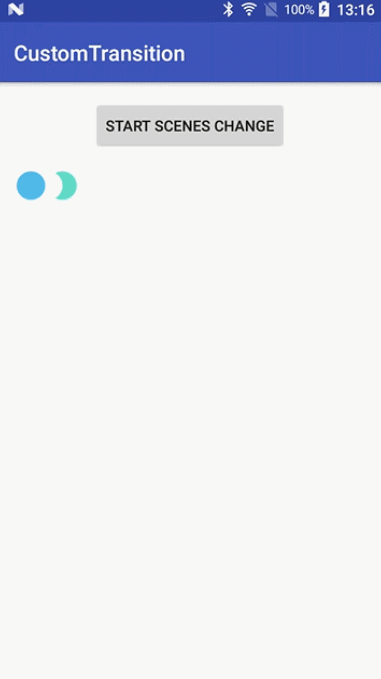
是不是很方便?虽然用一般的属性动画,也可以做得到这样的效果,但是利用过渡框架,可就简单多了。
值得注意的是:两个场景的“相同”元素,需要使用相同的id,否则没有动画效果。
三、无场景过渡
有时候,我们只是需要在当前界面添加或者删除一个View —— 也就是说,变化前后的两个View树几乎是一样的。如果使用场景过渡来实现变化效果,需要维护两个几乎相同的场景布局,未免小题大做。这种情况,无场景的过渡就有了用武之地。
无场景过渡仅包含一个View树,但是维持两个状态,通过“延时过渡”(Delayed transition)实现两个状态的过渡效果。
无场景过渡的使用也主要包括三个步骤:
- 调用TransitionManager.beginDelayedTransition()保存View树状态并设置过渡
- View树发生改变,过渡框架记录新的状态
- 系统重绘,过渡框架启动过渡动画
实际上,需要自行控制的主要是前两步,其它的都由过渡框架完成。
还是来个例子。首先,定义一个过渡动画,包括ChangeBounds和Fade两个效果的组合。然后调用beginDelayedTransition()保存View树状态,并设置好前面定义的过渡动画。接着,addView或者removeView使得View树发生变化。当系统重绘时,将执行上述过渡动画。这里,不断地添加与删除View,观察过渡效果。
1 | |
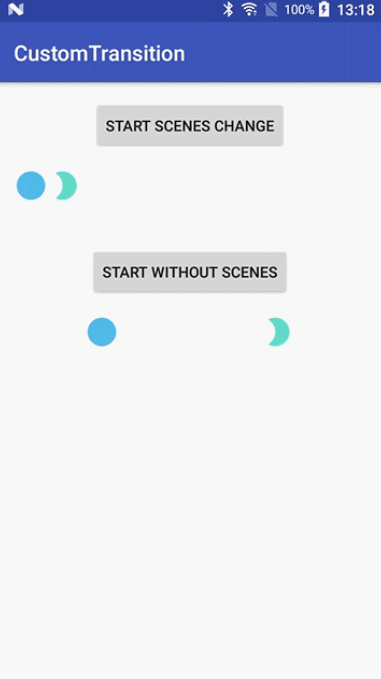
View的增删再也不用那么无趣了。
四、局限性
当然,虽然过渡框架这么有用,它也有使用限制。
在SurfaceView上应用过渡动画,可能就不会正常实现。前面已经看到,过渡是与View树的变化是息息相关的,View树的变化引起View树重绘,然后过渡才会执行。View的动画是在UI线程,而SurfaceView实例的更新却在非UI线程,所以很可能造成不一致问题。
TextureView上应用特定的过渡动画,也可能不能正常实现。
AdapterView系的类,也不能正确实现过渡动画,因为它们与过渡框架不兼容。
另外,如果在过渡过程中改变一个TextView的大小,文本会在完全改变大小之前跳到新位置,也没法有效实现过渡。官方建议,应该避免过渡过程中改变包含文本TextView的View的尺寸。
五、自定义过渡
介绍完过渡框架在实际应用中的基本使用,是时候切入本文重点了 —— 自定义过渡。
实现
该如何实现呢?
过渡框架提供了一个类Transition,它是一个抽象类,ChangeBounds、ChangeImageTransform等等这些都是它的实现子类。类似地,自定义过渡动画,只需要继承Transition,并实现下面几个关键方法即可。
1 | |
捕获属性值
过渡框架的动画来自属性动画系统(Property Animation),因为属性动画是根据View的属性值在一段时间的变化来实现的,那么,过渡框架自然也是需要确定起止属性值的。
对于一个过渡,动画所需要的属性是确定的,所以过渡框架只提供这些需要的属性到过渡中(区别于属性动画系统),然后通过捕获属性的回调方法来保存属性值。
起始属性值
起始属性值在回调方法captureStartValues(TransitionValues transitionValues)中设置,然后将View的起始属性值传递给过渡框架。
其中,参数中的TransitionValues类包含两个域:
- view:View类型,保存所关注的View的引用
- values:Map类型,保存所有的属性值
为避免冲突,官方建议values的键的命名按如下规则:
1 | |
终止属性值
终止属性值在回调方法captureEndValues(TransitionValues transitionValues)中设置。此方法之于captureStartValues中的参数,虽然包含相同的view引用,但是却维护不同的values值,独立存在。
动画适配器
自定义过渡动画需要实现的第三个方法就是动画适配器了。
1 | |
参数sceneRoot是根View,startValues和endValues分别是前面捕获生成的起始和终止属性值。如果确定起始和终止的属性值有变化,那就可以生成自定义动画,并返回给过渡框架,框架将添加动画时长、插值器等等并启动此动画。默认返回null,框架不作操作。
createAnimator()被回调的次数,依赖于起始与终止场景中的“变化数” —— 也就是说,到底我们需要改变多少个目标对象(毕竟,不同目标,动画可能并不相同)。比如,起始场景有5个目标,其中3个留至结束,2个删除。终止场景有4个目标,3个来自于起始场景,1个是新增,那么,createAnimator()将被回调3 + 2 + 1=6次。
自定义过渡动画
说了这么多,我们来看看具体的代码实现。
背景颜色过渡
首先来看一个官方的例子,此过渡用于改变背景颜色(ChangeColor)。
1 | |
非常简单,背景的变化通过ValueAnimator的更新监听进行控制。
使用起来也和系统内置过渡效果一样。
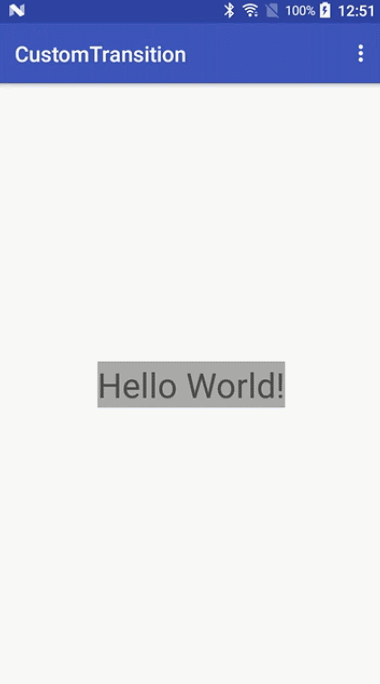
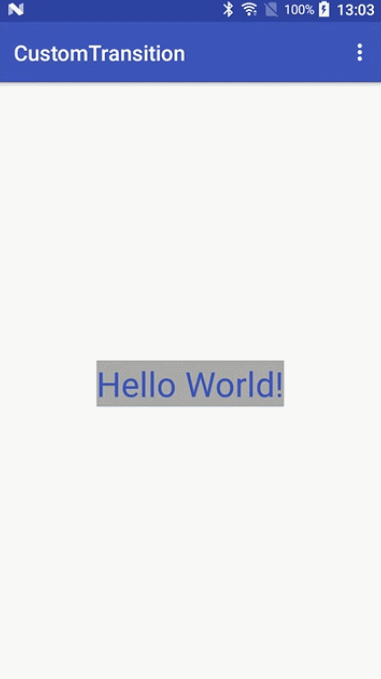
在AS中生成一个简单工程,在主界面MainActivity添加一个文本“Hello World”,然后SecondActivity中同样添加一个文本“Hello World”,设置Activity的共享过渡,并添加过渡动画为这个ChangeColor。
SecondActivity.java
1 | |
关于上面的代码,需要注意两点。
第一,为了设置正确的起始和终止场景属性值,共享过渡的回调SharedElementCallback必须添加,因为几个关键方法的回调顺序为:
1 | |
如果不在onSharedElementStart和onSharedElementEnd中设置正确的始末属性值,那过渡无法知晓属性值的变化,createAnimator不会回调,过渡动画也就无从谈起。
第二,过渡动画不仅添加了自定义的ChangeColor,还添加了ChangeBounds。单独一个ChangeColor是无法生效的。
在主界面中启动SecondActivity,看下效果
文本颜色过渡
前面官方的例子,自然成功实现,没有问题。现在依葫芦画瓢,来实现一个文本颜色的过渡动画。代码如下:
1 | |
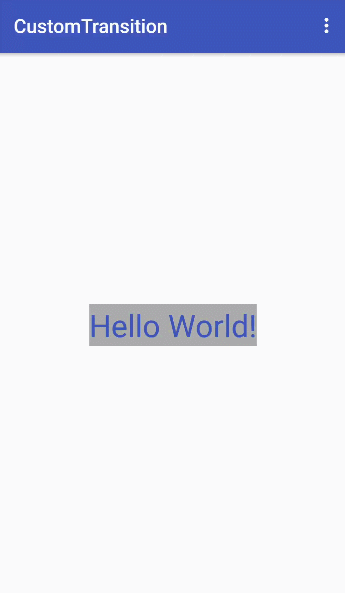
也非常简单,颜色的变化直接使用ObjectAnimator生成了一个属性动画。在SecondActivity中,注释掉前面的ChangeColor过渡,添加ChangeTextColor。
1 | |
同时,在onSharedElementStart和onSharedElementEnd中分别设置起始和终止的文本颜色值。
1 | |
主界面中启动SecondActivity,效果如下
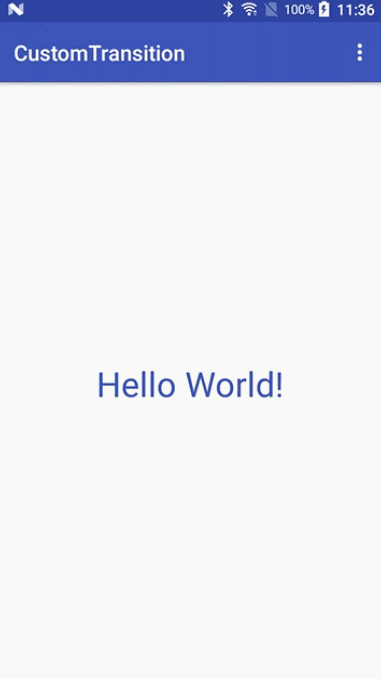
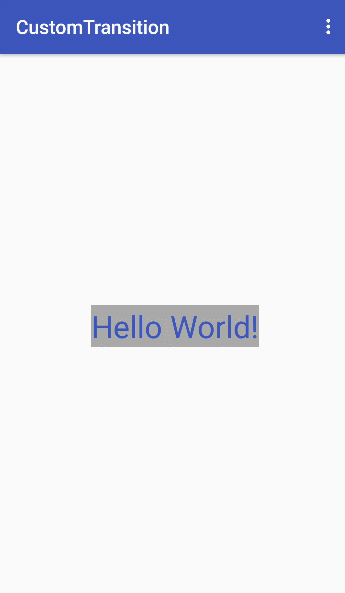
同时添加ChangeColor和ChangeTextColor,主界面中启动SecondActivity,效果正常
文本大小过渡
既然背景颜色和文本颜色都可以过渡,那么文本大小呢?
同样,实现一个文本大小过渡ChangeTextSize
1 | |
修改SecondActivity中的“Hello Wolrd”文本大小,然后把此过渡添加至前面的过渡组合中
咦?好像不是那么回事了!仔细看看,其实文本的大小,还是按预期过渡的,是一个逐渐变大变小的过程。但是,主界面到二界面时,直到过渡的最后一刻,控件的尺寸才变成实际大小,即文本变大后的实际控件尺寸。
这就是前面官方已经提到过的关于包含文本控件时的过渡局限性了。
有没有办法解决?
当然有!国外的大牛已经搞定了,膜拜之。
问题原因已经知道,就是过渡过程中,文本在变大,但是View本身的尺寸却没有跟随着变大 —— 因为过渡框架不知道应该改变控件尺寸啊!那么,就在设置终止文本大小值的时候,也把控件的尺寸修改一下可好?看看代码上怎么做:
1 | |
首先保存一个原始尺寸,设置新的文本大小后重新测量,然后根据始末尺寸差值,设置过渡结束时的控件尺寸。
嗯,原生过渡框架所谓的局限性也不再局限了,完美!
六、小结
过渡框架中的场景过渡和无场景过渡,使用起来非常方便,大家可以发散思维把它们应用到除这里讲到的更多的应用场景中去。
自定义过渡时,从原生例子入手,但是过程中失败很多,也踩了很多雷,多是因为理解不透彻,到最后搞明白的时候发现,其实官书API或者文档已经说清楚了。
路漫漫其修远兮啊!
照样,例子奉上,仅供参考。